Hi!
My name is Jess and I’m the creator behind Sun Sand Stitch. I am so excited to be sharing my Crochet Plant Hanger pattern on this week’s edition of Little Red Knits’ Friday Freebie! You can find the free pattern below, or the inexpensive printable version on Etsy or Ravelry.

I began crocheting in 2016 and started my blog in August 2018. My ideology behind Sun Sand Stitch is to provide simple designs with inspiration from nature and advocating environmental awareness.
When I’m not crocheting, I’m typically doing schoolwork. I’m a college student pursuing a degree in environmental science and biology. Some of my favorite things include my cats, watching the tv show Friends, and any kind of pasta!
You can follow me and my journey on social media, or check out my blog for more patterns and products.
Thanks so much for joining and happy crocheting!
-Jess
Blog / Instagram / Facebook / Pinterest / Ravelry / Etsy
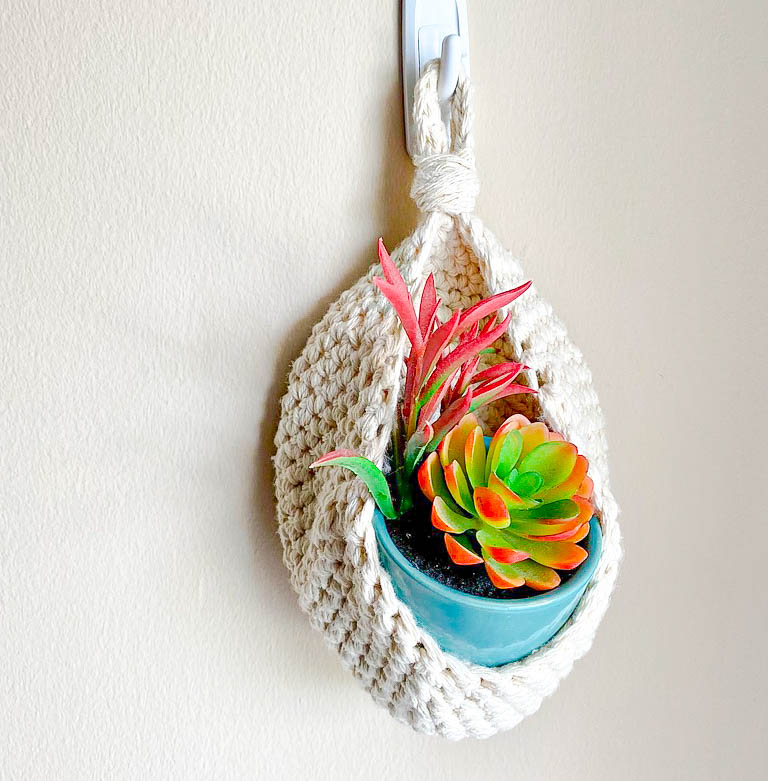
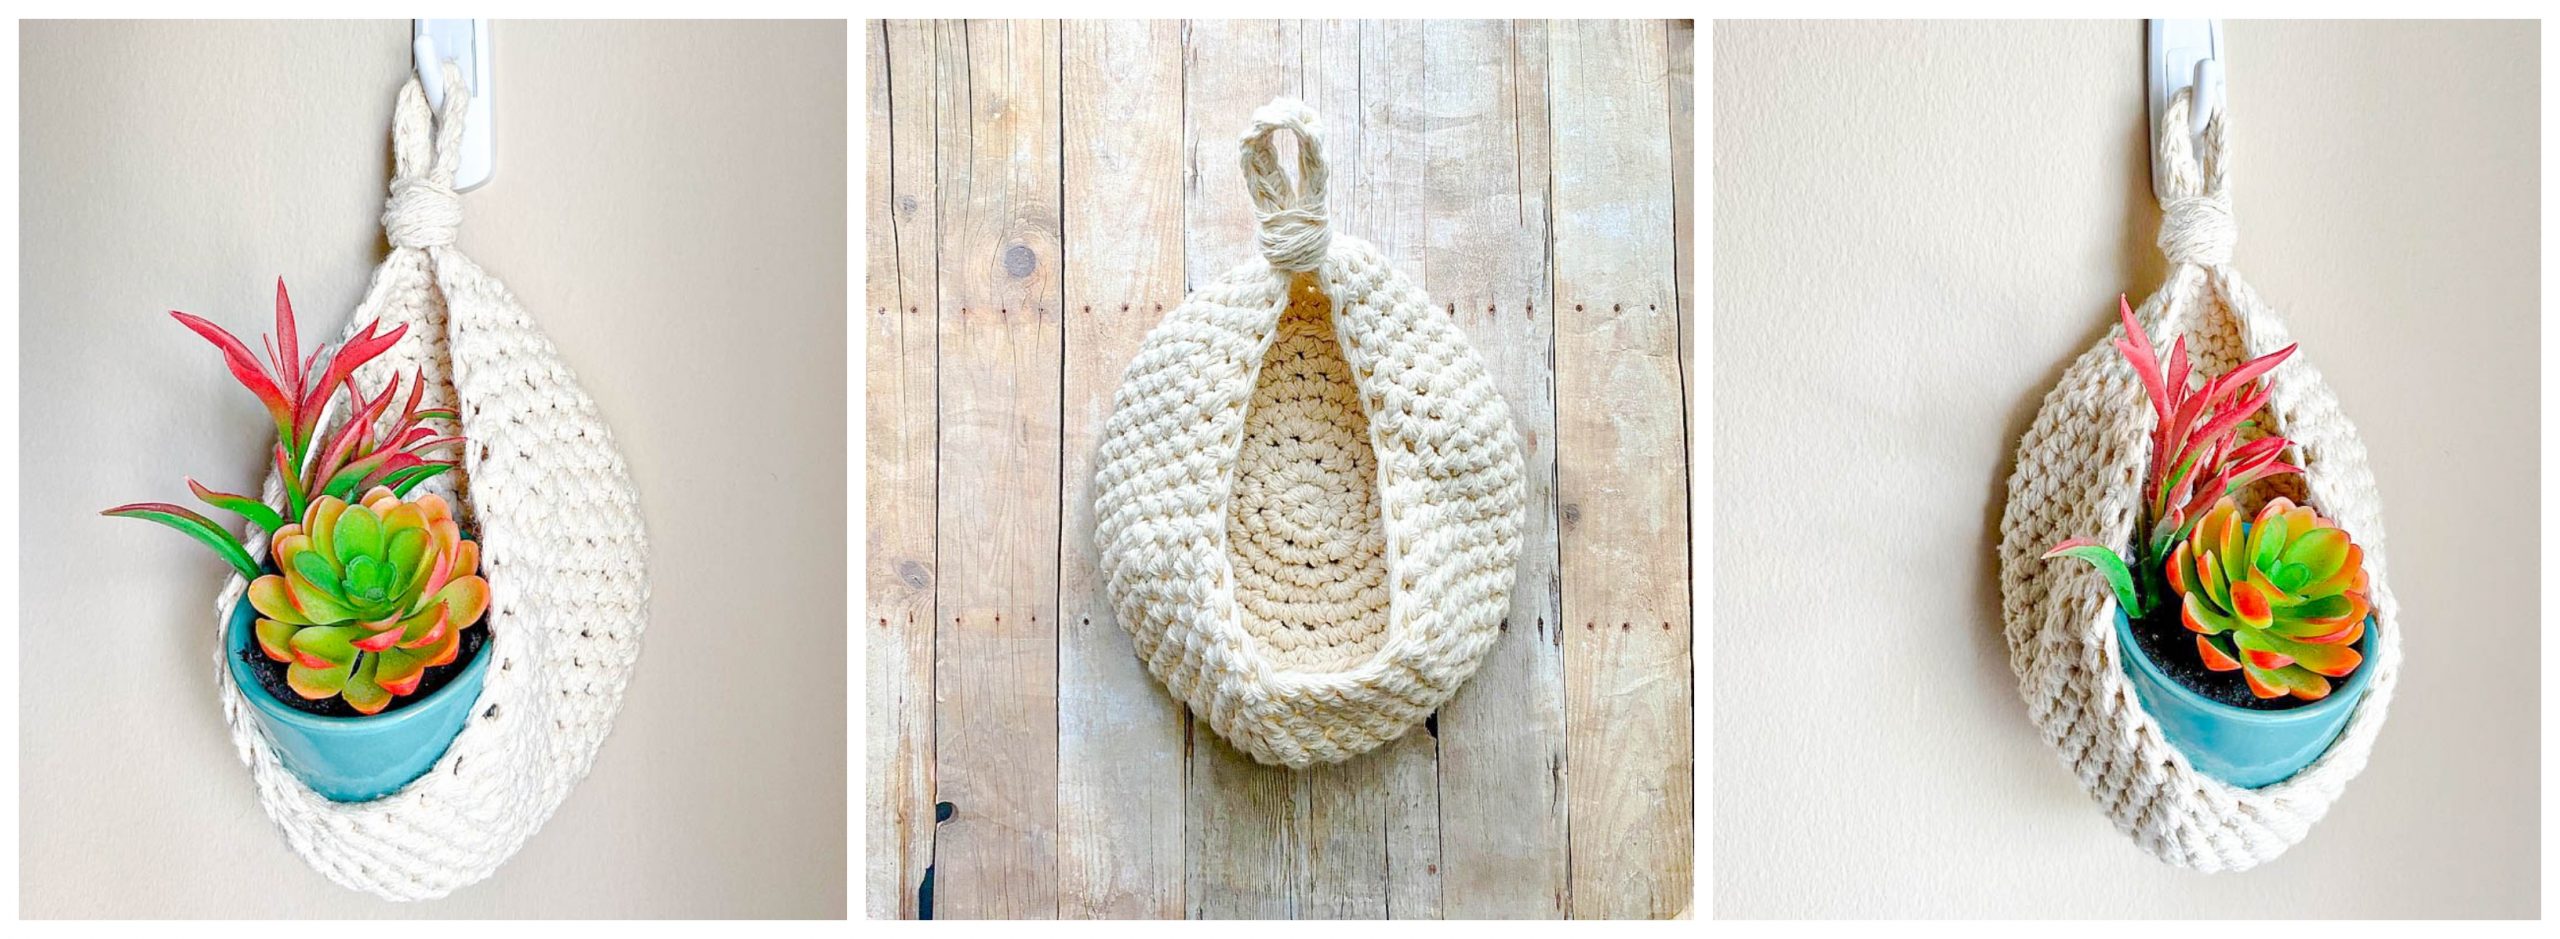
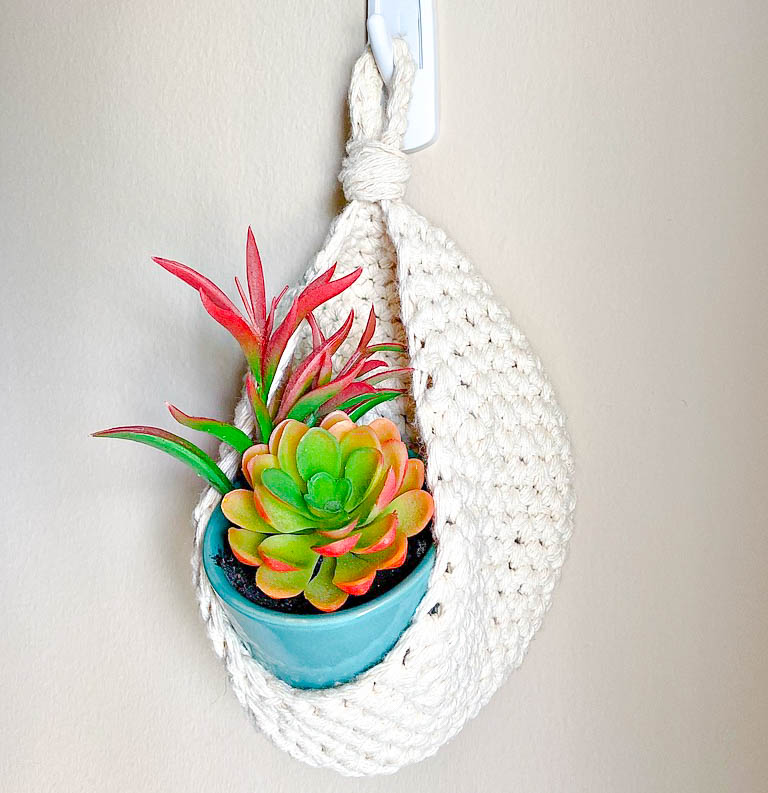
Crochet Plant Hanger
By Jess from Sun Sand Stitch

Materials:
- 2 skeins of Re-Up by Lion Brand Yarn, (sample uses color Ecru), or approximately 92 yards of worsted weight #4 yarn
- Size H/ 5 mm Crochet Hook (or hook to obtain gauge)
- Stitch Marker (optional but can help identify your starting point)
- Scissors
- Yarn Needle
- Hanging hardware for your wall (Sample photos used removable command hooks by 3M)
- Small potted plant
Pattern Notes:
- This pattern is written in US terms
- For the entirety of the pattern you will be working with 2 strands at the same time
- Ch 1 at beginning of row does not count as a stitch
- Pattern is worked in the round
- Numbers in parentheses at end of each round indicate number of stitches for that round
- Stitch marker will be placed on the ch 1 of each round (optional)
Stitches:
- Ch = Chain
- MR = Magic Ring
- Sc = single crochet
- Sc2tog= single crochet 2 stitches together (this is a single crochet decrease)
- Sl st = slip stitch
Gauge:
2” = 7 sts x 8 rows
Gauge swatch should be done in the round
Finished Measurements:
Approximately 7 inches tall and 6 inches wide (not including the loop)
Pattern:
Make a MR. Ch 1. Place 6 sc in MR. Sl st to the top of ch 1 (6).
Row 1: Ch 1. 2 sc in each stitch around (12).
Row 2: Ch 1. *1 sc in the next stitch. 2 sc in the next stitch. Repeat from * around. Sl st to the top of the chain 1 (18).
Row 3: Ch 1. *1 sc in the next 2 stitches. 2 sc in the next stitch. Repeat from * around. Sl st to the top of the chain 1 (24).
Row 4: Ch 1. *1 sc in the next 3 stitches. 2 sc in the next stitch. Repeat from * around. Sl st to the top of the chain 1 (30).
Row 5: Ch 1. *1 sc in the next 4 stitches. 2 sc in the next stitch. Repeat from * around. Sl st to the top of the chain 1 (36).
Row 6: Ch 1. *1 sc in the next 5 stitches. 2 sc in the next stitch. Repeat from * around. Sl st to the top of the chain 1 (42).
Row 7: Ch 1. *1 sc in the next 6 stitches. 2 sc in the next stitch. Repeat from * around. Sl st to the top of the chain 1 (48).
Row 8: Ch 1. Sc in the back loops only of each stitch around. Sl st to the top of the ch 1 (48).
Rows 9-14: Ch 1. Sc in each stitch around. Sl st to the top of the ch 1 (48).
Row 15 (begin decreasing): Ch 1. *1 sc in the next 6 stitches. sc2tog in the next stitch. Repeat from * around. Sl st to the top of the chain 1 (42).
Row 16: Ch 1. *1 sc in the next 5 stitches. sc2tog in the next stitch. Repeat from * around. Sl st to the top of the chain 1 (36).
Row 17: Ch 1. *1 sc in the next 4 stitches. sc2tog in the next stitch. Repeat from * around. Sl st to the top of the chain 1 (30).
Row 18 (loop): Ch 10. Sl st back into the same stitch (10).
Row 19 (loop): Sc in each stitch around. Sl st back to the base (10).
Cut yarn and leave approximately 24” tail.
Use the tail to wrap around the base of the loop. Weave in the ends with a yarn needle.

I hope you enjoyed this pattern. Share your finished projects with me on Instagramand Facebook.
Happy Stitching!
-Jess

![[NEW PATTERN] Gridlines Baby Blanket](https://littleredknits.com/wp-content/uploads/2023/10/3-500x383.png)
![[NEW PATTERN] Bubble Tote Bag](https://littleredknits.com/wp-content/uploads/2023/09/8-500x383.png)
![[LUCERNE FRINGE SCARF] New Knitting Pattern + Kit!](https://littleredknits.com/wp-content/uploads/2023/09/3-500x383.png)
![[NEW PATTERN] CONTENTO WRAP](https://littleredknits.com/wp-content/uploads/2023/09/1-500x383.png)
![[NEW YARN + NEW PATTERN] Haddington Cowl](https://littleredknits.com/wp-content/uploads/2023/08/Haddington-Cowl-1-500x383.png)